


If you’re ready to get started with your project on how to build a cheap storage shed DIY: simple plans, click here to access affordable shed-building resources!
Creating your storage shed is a practical and cost-effective way to gain extra storage space for garden tools, supplies, or outdoor equipment like lawnmowers. Whether on a tight budget or aiming for a well-built shed that’ll last a couple of years, this guide will walk you through step-by-step instructions.
With simple materials and tools, you can build a shed tailored to your needs without breaking the bank.
Materials and Tools Checklist
Before you start, ensure you have the following tools and materials:
Materials List:
- Shed kit (optional for convenience)
- Concrete blocks or concrete deck blocks (foundation support)
- Pressure-treated lumber (for the floor frame and side walls)
- Plywood or strand board (for floor sheathing and walls)
- Roof trusses or materials to build a custom roof frame
- Asphalt shingles or metal roofing (for weather protection)
- Aluminum drip edge
- Plywood gussets (for roof reinforcement)
- Double doors or old doors (for easy access)
- Fresh coat of paint (optional for finishing)
Tools:
- Power tools (drill, circular saw, and power sander)
- Tape measure
- Hammer and nails or screw gun
- Level
- Band joist (for floor frame perimeter)
- Safety gear (gloves, goggles)
Step 1: Check the Building Permit and Local Building Codes
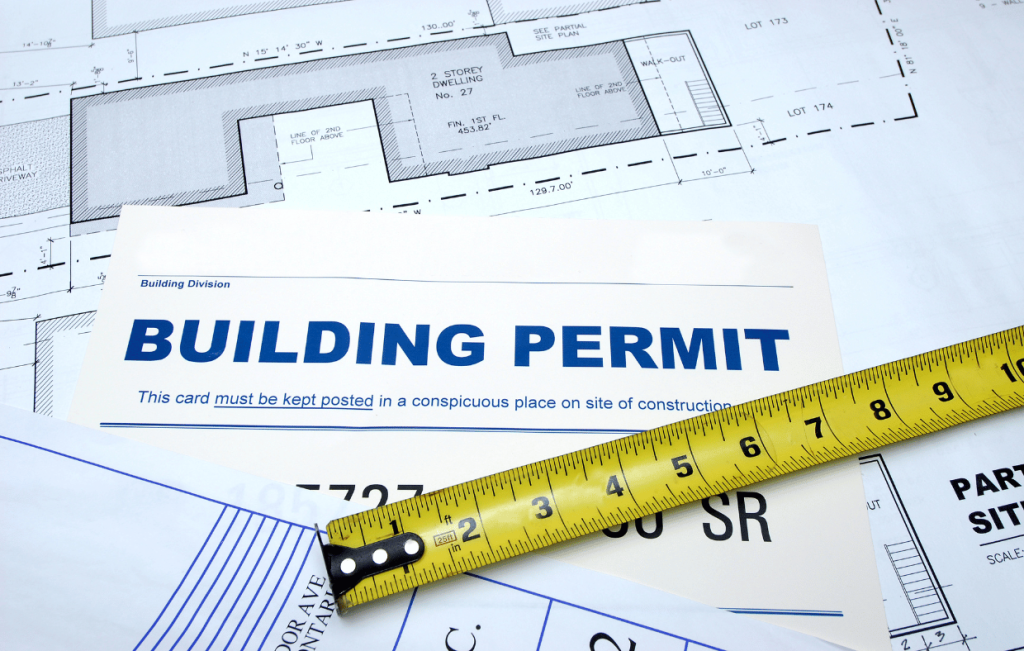
The first step before any construction is to verify local building codes and permit requirements. Contact your municipality to find out if you need a building permit for your shed. Skipping this step may result in fines or having to dismantle your structure.
Step 2: Choose Your Shed Design and Free Shed Plans
For a budget-friendly option, start with free shed plans. Websites like Ana White and Family Handyman offer step-by-step instructions. You can select from various designs, including:
- Gable Roof Shed: A classic option with a pitched roof.
- Single-Slant Roof Shed: Ideal for areas with high winds.
- Pole Barn Style Shed: Minimal material requirements for structural support.
Think about your specific needs. For example, if you need extra storage space for garden tools, a small storage shed idea with 50 to 100 square feet should suffice.
Step 3: Prepare the Shed Foundation
There are multiple foundation options, but concrete blocks provide a cheap and durable solution.
Steps:
- Clear the ground and ensure it is level.
- Lay a gravel base to help with drainage.
- Place concrete blocks at each corner and along the perimeter.
- Check that all blocks are level before proceeding.
Tip: For a stronger foundation, use a concrete floor, but this may increase the total cost.
Step 4: Build the Floor Frame
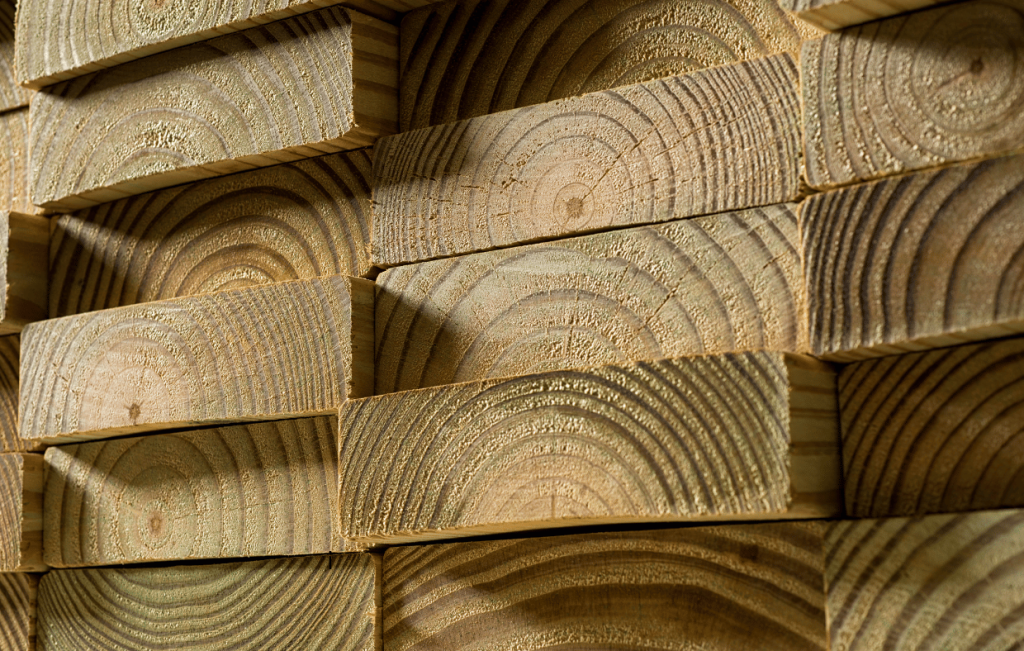
Using pressure-treated lumber, construct the floor frame. This is crucial for stability.
Steps:
- Cut and assemble the band joist for the floor frame perimeter.
- Add floor joists, spaced 16 inches apart.
- Secure the frame to the concrete blocks.
- Attach plywood or strand board floor sheathing.
Tip: Double-check for levelness before moving on to the walls.
Step 5: Assemble the Shed Walls
Next, construct the side walls using pressure-treated lumber and strand board.
Steps:
- Cut studs and bottom plates to the required dimensions.
- Nail or screw the frame together.
- Attach strand board sheathing to the wall frames.
- Stand the walls up and secure them to the floor frame.
Pro Tip: Leave space for double doors to provide easy access.
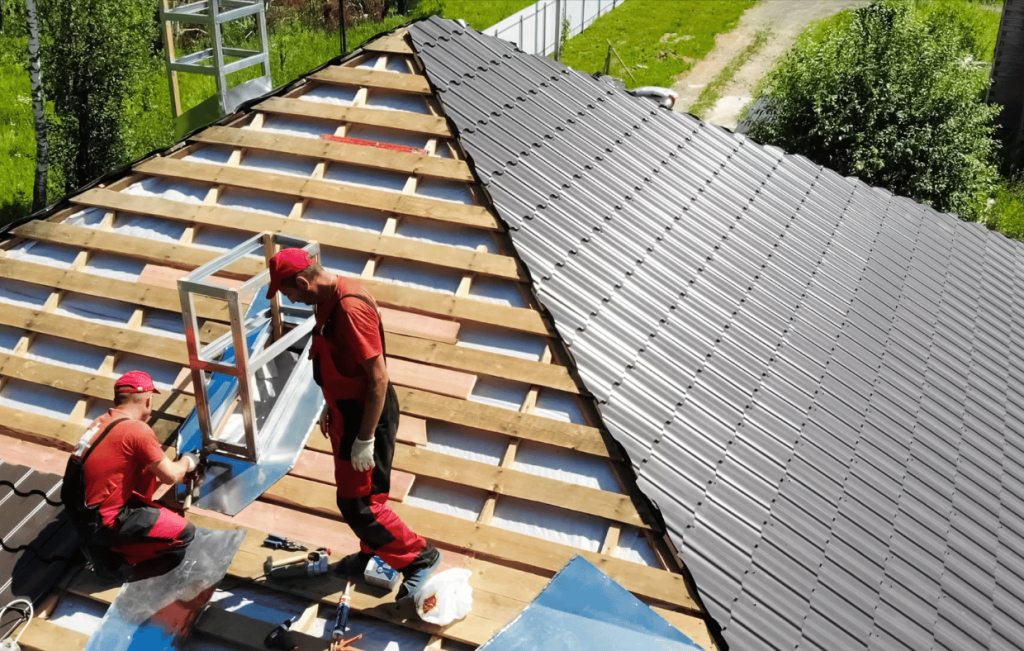
Step 6: Build the Roof Frame
The type of roof you choose affects both durability and total cost. Gable roofs are a good option for high winds, while single-slant roofs are easier to construct.
Steps:
- Build roof trusses or a custom frame using plywood gussets.
- Install the top cords and connect them to the walls.
- Attach plywood or strand board sheathing.
- Apply asphalt shingles or metal roofing.
Tip: Add an aluminum drip edge to prevent water damage.
Step 7: Install Doors and Windows
For a budget-friendly shed, consider using old doors or constructing a custom door from plywood. Double doors offer easy access to larger equipment like lawnmowers.
Step 8: Add Finishing Touches
Apply a fresh coat of paint to protect the shed from weather elements. Consider adding shelves or hooks for better organization inside.
Step 9: Review Total Cost and Savings
By using free shed plans and affordable materials from hardware stores like Home Depot, you’ll save a lot of time and money compared to pre-made sheds. You can also take advantage of free shipping on bulk material orders.
Average Cost: Depending on the size and materials, building a DIY shed can cost anywhere from $500 to $1,500, which is significantly cheaper than buying a pre-made shed.
Step 10: Maintain Your Shed
To ensure your shed lasts for years, follow these best practices:
- Inspect for signs of wear, such as rotting wood or leaks.
- Apply a new coat of paint every couple of years.
- Reinforce joints and the floor frame perimeter if needed.
Why Build Your Shed?
Building your shed is not just about cost savings; it’s a great way to customize the space to fit your needs. You’ll also gain valuable DIY skills and have the satisfaction of completing an entire project on your own.
For additional resources, including detailed plans and tips from experts like Joseph Truini from the Today’s Homeowner TV Show, click here.
Conclusion
Building a DIY storage shed on a budget is achievable with proper planning and preparation. By following these simple plans and best practices, you can create a sturdy, affordable shed that meets your storage needs. Start your weekend project today and enjoy the benefits of extra storage space for years to come!